Affiliate Disclaimer: This post contains affiliate links. If you purchase through them, I may earn a small commission at no extra cost to you. I only recommend programs I genuinely believe can help you and your dog.
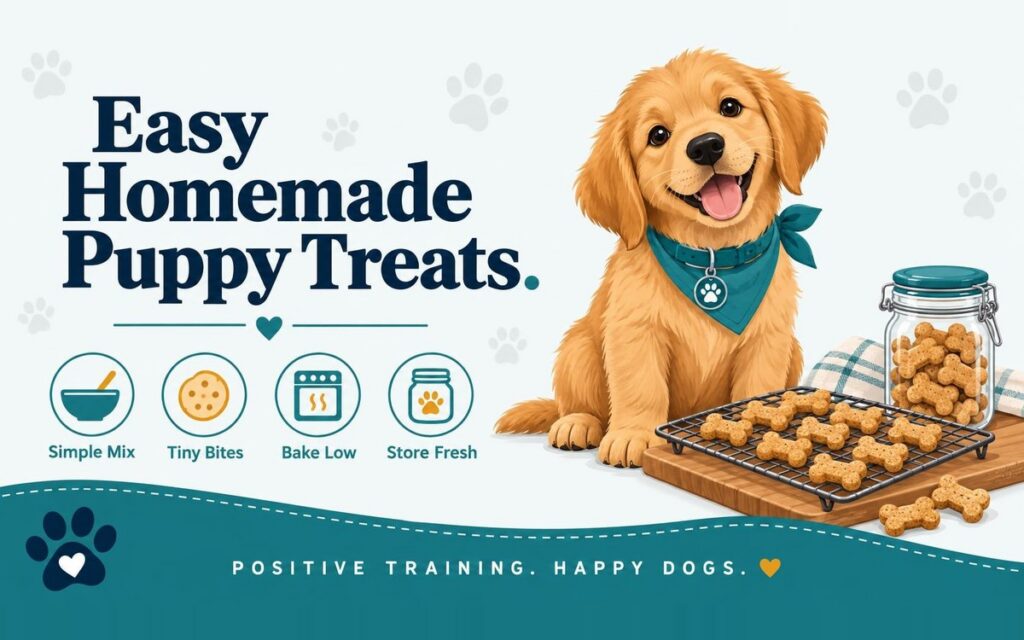
When you are training a puppy, you go through treats at an astonishing rate. A single short session can use twenty or thirty rewards, and with several sessions a day, store-bought bags disappear fast. Making your own training treats is cheaper, lets you control exactly what goes into them, and is surprisingly quick once you have a couple of reliable recipes.
Here are five easy homemade puppy training treats made from simple, dog-safe ingredients. All of them can be cut into tiny, pea-sized pieces, which is exactly what you want for training. Before you start, read the short safety section below, because a few common baking ingredients are dangerous for dogs.
What Makes a Good Training Treat?
A training treat is different from a chew or a snack. It needs to be:
- Tiny. About the size of a pea, so your puppy can eat it in a second and get straight back to learning.
- Soft. Hard, crunchy treats take time to chew and leave crumbs everywhere. Soft treats keep sessions flowing.
- Smelly and tasty. The more your puppy loves it, the harder they will work for it.
- Low in calories. Because you give so many, each piece should be small and light.
A good rule is that treats should make up no more than about ten percent of your puppy’s daily calories. If you are training a lot, reduce their meals slightly to compensate.
Safety First: Ingredients to Avoid
Some everyday ingredients are toxic to dogs. Never include these in homemade treats:
- Xylitol, a sweetener found in some peanut butters and sugar-free products. Even small amounts are extremely dangerous. Always check the label.
- Onion and garlic, including powders.
- Chocolate and cocoa.
- Grapes, raisins, and currants.
- Macadamia nuts.
- Excess salt, sugar, and seasoning.
My full guide to foods toxic to dogs covers these in more detail, and what dogs can eat lists the safe options. If your puppy has any food allergies or a sensitive stomach, check with your vet before introducing new ingredients, and always introduce one new treat at a time.
Recipe 1: Simple Baked Chicken Bites
The easiest high-value treat there is. Most puppies will do absolutely anything for these.
Ingredients: 2 boneless, skinless chicken breasts.
Method:
- Preheat the oven to 180°C (350°F).
- Place the chicken on a lined baking tray with no oil or seasoning.
- Bake for 20 to 25 minutes until cooked through, with no pink in the middle.
- Let it cool completely, then cut into tiny cubes about the size of a pea.
Storage: Keep in the fridge for up to 3 days or freeze in small portions for up to 2 months. A handy trick is to freeze a day’s worth in each bag.
Recipe 2: Pumpkin and Peanut Butter Bites
A soft, sweet-smelling treat that bakes in one sheet and cuts easily into hundreds of pieces.
Ingredients:
- 1 cup oat flour (or blended rolled oats)
- ½ cup plain canned pumpkin (pure pumpkin, not pie filling)
- 2 tablespoons natural, xylitol-free peanut butter
- 1 egg
Method:
- Preheat the oven to 175°C (350°F) and line a small baking tray.
- Mix everything together into a thick paste.
- Spread it evenly about 1 cm thick across the tray.
- Bake for 18 to 22 minutes until firm but still soft.
- Cool, then cut into tiny squares with a pizza cutter.
Storage: Fridge for up to 5 days, freezer for up to 3 months.
Recipe 3: Sweet Potato Chewy Bites
A single-ingredient treat that suits puppies with sensitive tummies.
Ingredients: 1 large sweet potato.
Method:
- Preheat the oven to 120°C (250°F).
- Wash and slice the sweet potato into thin rounds, about 5 mm thick.
- Lay them on a lined tray and bake for about 2 to 3 hours, turning halfway, until dried but still slightly chewy.
- Cool and cut into small pieces.
Storage: Airtight container in the fridge for up to a week.
Recipe 4: Liver Training Squares
Strong-smelling and incredibly motivating, these are perfect for tougher lessons like recall or practicing around distractions. Liver is rich, so use these sparingly.
Ingredients:
- 200 g chicken or beef liver
- 1 egg
- ¾ cup oat flour or whole wheat flour
Method:
- Preheat the oven to 175°C (350°F) and line a baking tray.
- Blend the liver and egg until smooth, then stir in the flour to make a thick batter.
- Spread thinly across the tray.
- Bake for 15 to 20 minutes until set.
- Cool, then cut into tiny squares.
Storage: Fridge for up to 4 days, freezer for up to 2 months. Because liver is high in vitamin A, keep these as a special treat rather than an everyday staple.
Recipe 5: Frozen Yogurt and Blueberry Drops
A cooling treat that is lovely for teething puppies on warm days.
Ingredients:
- 1 cup plain, unsweetened yogurt (no sweeteners, especially no xylitol)
- ½ cup blueberries
Method:
- Mash the blueberries lightly and stir them into the yogurt.
- Pipe or spoon tiny drops onto a lined tray, or use a small silicone mold.
- Freeze for 2 to 3 hours until solid.
Note: Some puppies are sensitive to dairy. Start with one or two drops and watch for any tummy upset. These are great for a calm moment but too messy for active training sessions.
Bonus Recipe: Tuna Training Fudge
This one smells strongly enough to win back the attention of even the most distracted puppy, which makes it brilliant for outdoor sessions. Your kitchen will smell of fish for an hour, but the results are worth it.
Ingredients:
- 1 small can of tuna in water (not brine or oil), drained
- 1 egg
- ½ cup oat flour
Method:
- Preheat the oven to 175°C (350°F) and line a small baking tray.
- Blend the tuna and egg until smooth, then stir in the flour. Add a splash of water if the mixture is too stiff to spread.
- Spread about 1 cm thick and bake for 15 to 20 minutes until firm to the touch.
- Cool completely and cut into tiny cubes.
Storage: Fridge for up to 4 days, freezer for up to 2 months. Tuna is best as an occasional treat rather than an everyday one, so rotate it with the other recipes.
Batch Prep Tips That Save Time
When Poki was a puppy, I spent one Sunday afternoon a fortnight making treats, and it covered all of our training for the next two weeks. A few habits made it painless:
- Use a pizza cutter. It slices a whole tray of soft bites into tiny squares in under a minute.
- Freeze in daily bags. Portion each day’s treats into a small bag or container, label it, and take one out of the freezer the night before.
- Mix flavors in one pouch. A mix of two or three recipes keeps your puppy guessing, and guessing keeps them keen.
- Keep a high-value stash separate. Store your liver or tuna treats in their own container so you always know where the jackpot rewards are.
- Write the date on everything. Homemade treats have no preservatives, so labeling helps you use them while they are fresh.
Troubleshooting Homemade Treats
My Treats Crumble When I Cut Them
The mixture was probably too dry or the treats were cut while still warm. Add a little more pumpkin, egg, or water next time, and let the tray cool completely before cutting. A slightly underbaked, fudgy texture is ideal for training.
My Treats Went Moldy
Soft treats hold moisture, so they spoil faster than shop-bought ones. Keep them in the fridge, make smaller batches, and freeze anything you will not use within a few days. Throw away anything that smells off or shows any spots.
My Puppy Is Not Interested
Some puppies prefer meaty flavors over vegetable ones, and every dog has their own favorites. Try the chicken or liver recipes, train before meals rather than straight after, and practice somewhere quiet. If your puppy turns down everything, they may be stressed or full rather than fussy.
My Puppy Has a Loose Stomach
New foods can upset young tummies. Go back to one simple treat, such as plain baked chicken, use smaller amounts, and introduce any new recipe slowly over several days. If the upset continues, check in with your vet.
How Many Treats Per Day?
This depends on your puppy’s size and the treat, but a simple approach works for most owners. Make each piece truly tiny, count training treats as part of the day’s food, and reduce meals slightly on heavy training days. If your puppy’s waist starts to disappear or the vet mentions weight gain, cut back on rich treats and use more kibble as rewards. Keeping your puppy lean is kinder to their growing joints, especially for larger breeds.
Can I Use Plain Food Instead of Recipes?
Absolutely. Not every reward needs to be baked. Tiny pieces of plain cooked chicken or turkey, small cubes of mild cheese used sparingly, bits of cooked carrot, and your puppy’s own kibble all make good rewards. Many owners keep a bowl of plain chopped chicken in the fridge for the week and use homemade bakes as a change of flavor. The best training treat is simply the one your puppy is excited about that also fits their diet, so feel free to mix and match. If you are unsure whether a food is safe, check my guide to fruits and vegetables dogs can eat before offering it.
How to Use Treats Effectively in Training
The treat itself is only half of it. How you deliver it matters just as much.
- Mark, then reward. Say “yes” or use a clicker the instant your puppy does the right thing, then deliver the treat.
- Use a treat pouch. Having treats ready on your hip lets you reward within a second or two.
- Match the treat to the task. Use everyday treats for easy cues and save liver or chicken for hard lessons.
- Fade gradually. Once a skill is solid, reward intermittently and mix in praise and play.
If you would rather buy some of your treats, my roundup of the best store-bought training treats includes soft, small options that work well for puppies.
Putting Your Treats to Work
Now that you have a stash of homemade rewards, put them to good use with a clear plan. My puppy training schedule by age shows what to teach at each stage, and the 25 puppy training tips post is full of ways to make every reward count. For a printable plan you can stick on the fridge, grab the checklist below.
Want a Step-by-Step Program?
Treats work best inside a structured plan. One I recommend is Brain Training for Dogs by Adrienne Farricelli, a certified professional dog trainer (CPDT-KA). It uses positive, reward-based exercises and brain games that put those homemade treats to excellent use, with a video demonstration for every lesson.
The Bottom Line
Homemade puppy training treats are simple, affordable, and easy to tailor to your puppy. Baked chicken bites, pumpkin and peanut butter squares, sweet potato chews, liver squares, and frozen yogurt drops cover everything from everyday rewards to high-value jackpots. Keep pieces tiny, avoid toxic ingredients like xylitol, onion, and chocolate, and keep treats within ten percent of daily calories. With a freezer full of homemade rewards, every training session becomes something your puppy looks forward to.
Dog lover and devoted owner of a Golden Retriever named Poki, sharing what she has learned raising him with kind, positive methods. Learn more about Milica.